Install eWallet
Install eWallet from Play Store, or download the APK directly from the GitHub releases page.
Do not install an app from any other place except those two links above! Doing so will most likey result in loss of funds.
On October 31, 2026, Bitcoin is scheduled to undergo a hard fork called eCash. At the fork block, BTC holders will be credited ECX at 1:1 ratio. To claim it, you must control the keys for the wallet that held the BTC.
As of v4, eWallet provides a simple way to claim ECX for Bitcoin holders, and this guide walks you through the process.
Install eWallet from Play Store, or download the APK directly from the GitHub releases page.
Do not install an app from any other place except those two links above! Doing so will most likey result in loss of funds.
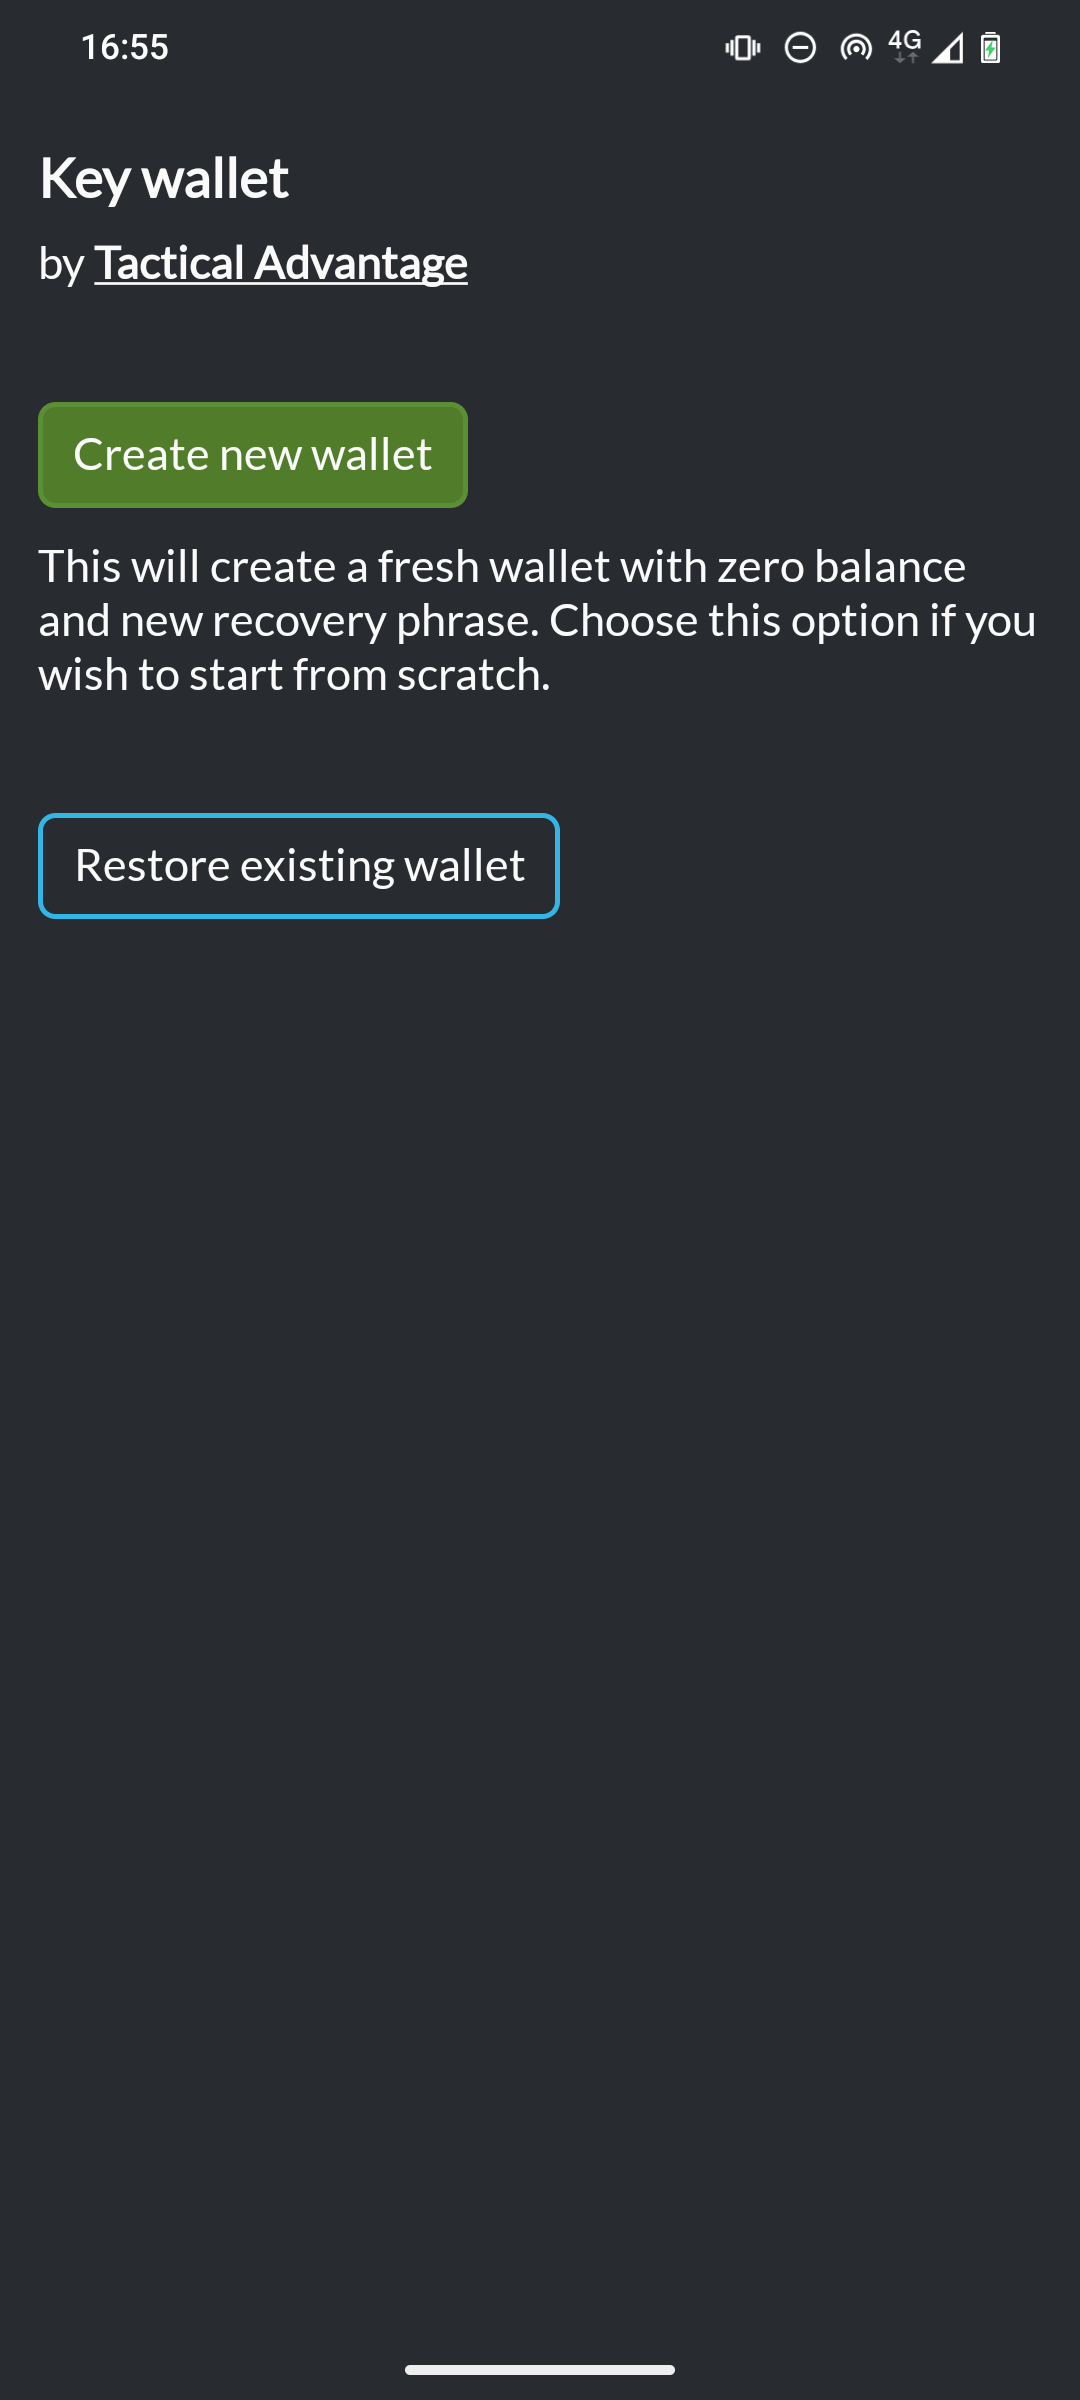
Install eWallet from Play Store, or download the APK directly from the GitHub releases page.
Do not install an app from any other place except those two links above! Doing so will most likey result in loss of funds.
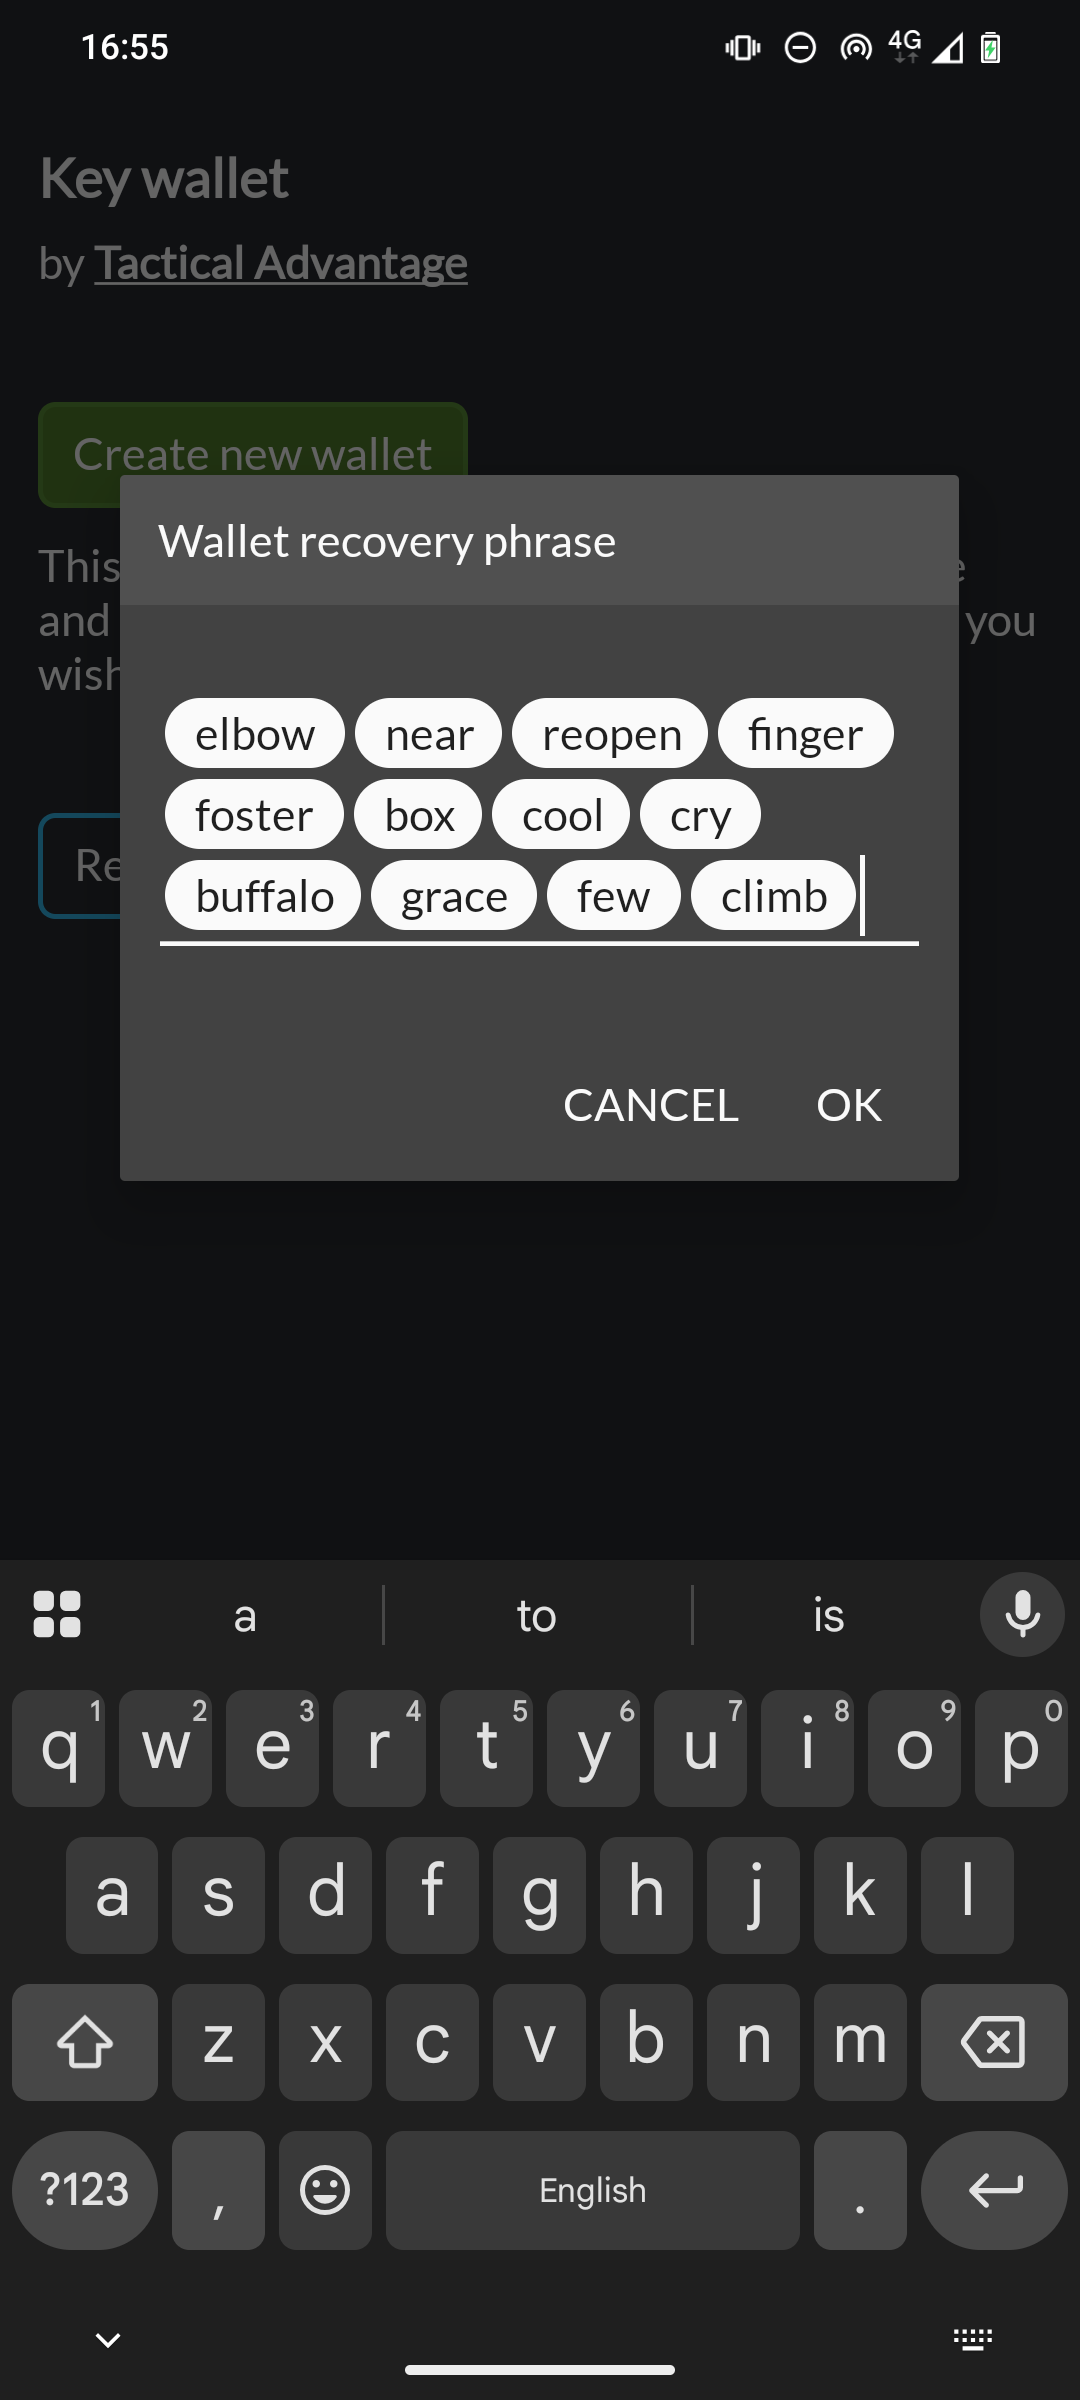
To restore both ECX and BTC balances, you need a 12-word BIP39 recovery phrase. Choose Restore existing wallet, then enter your recovery words in order.
Never enter the phrase shown in this screenshot. It is just a disposable example.
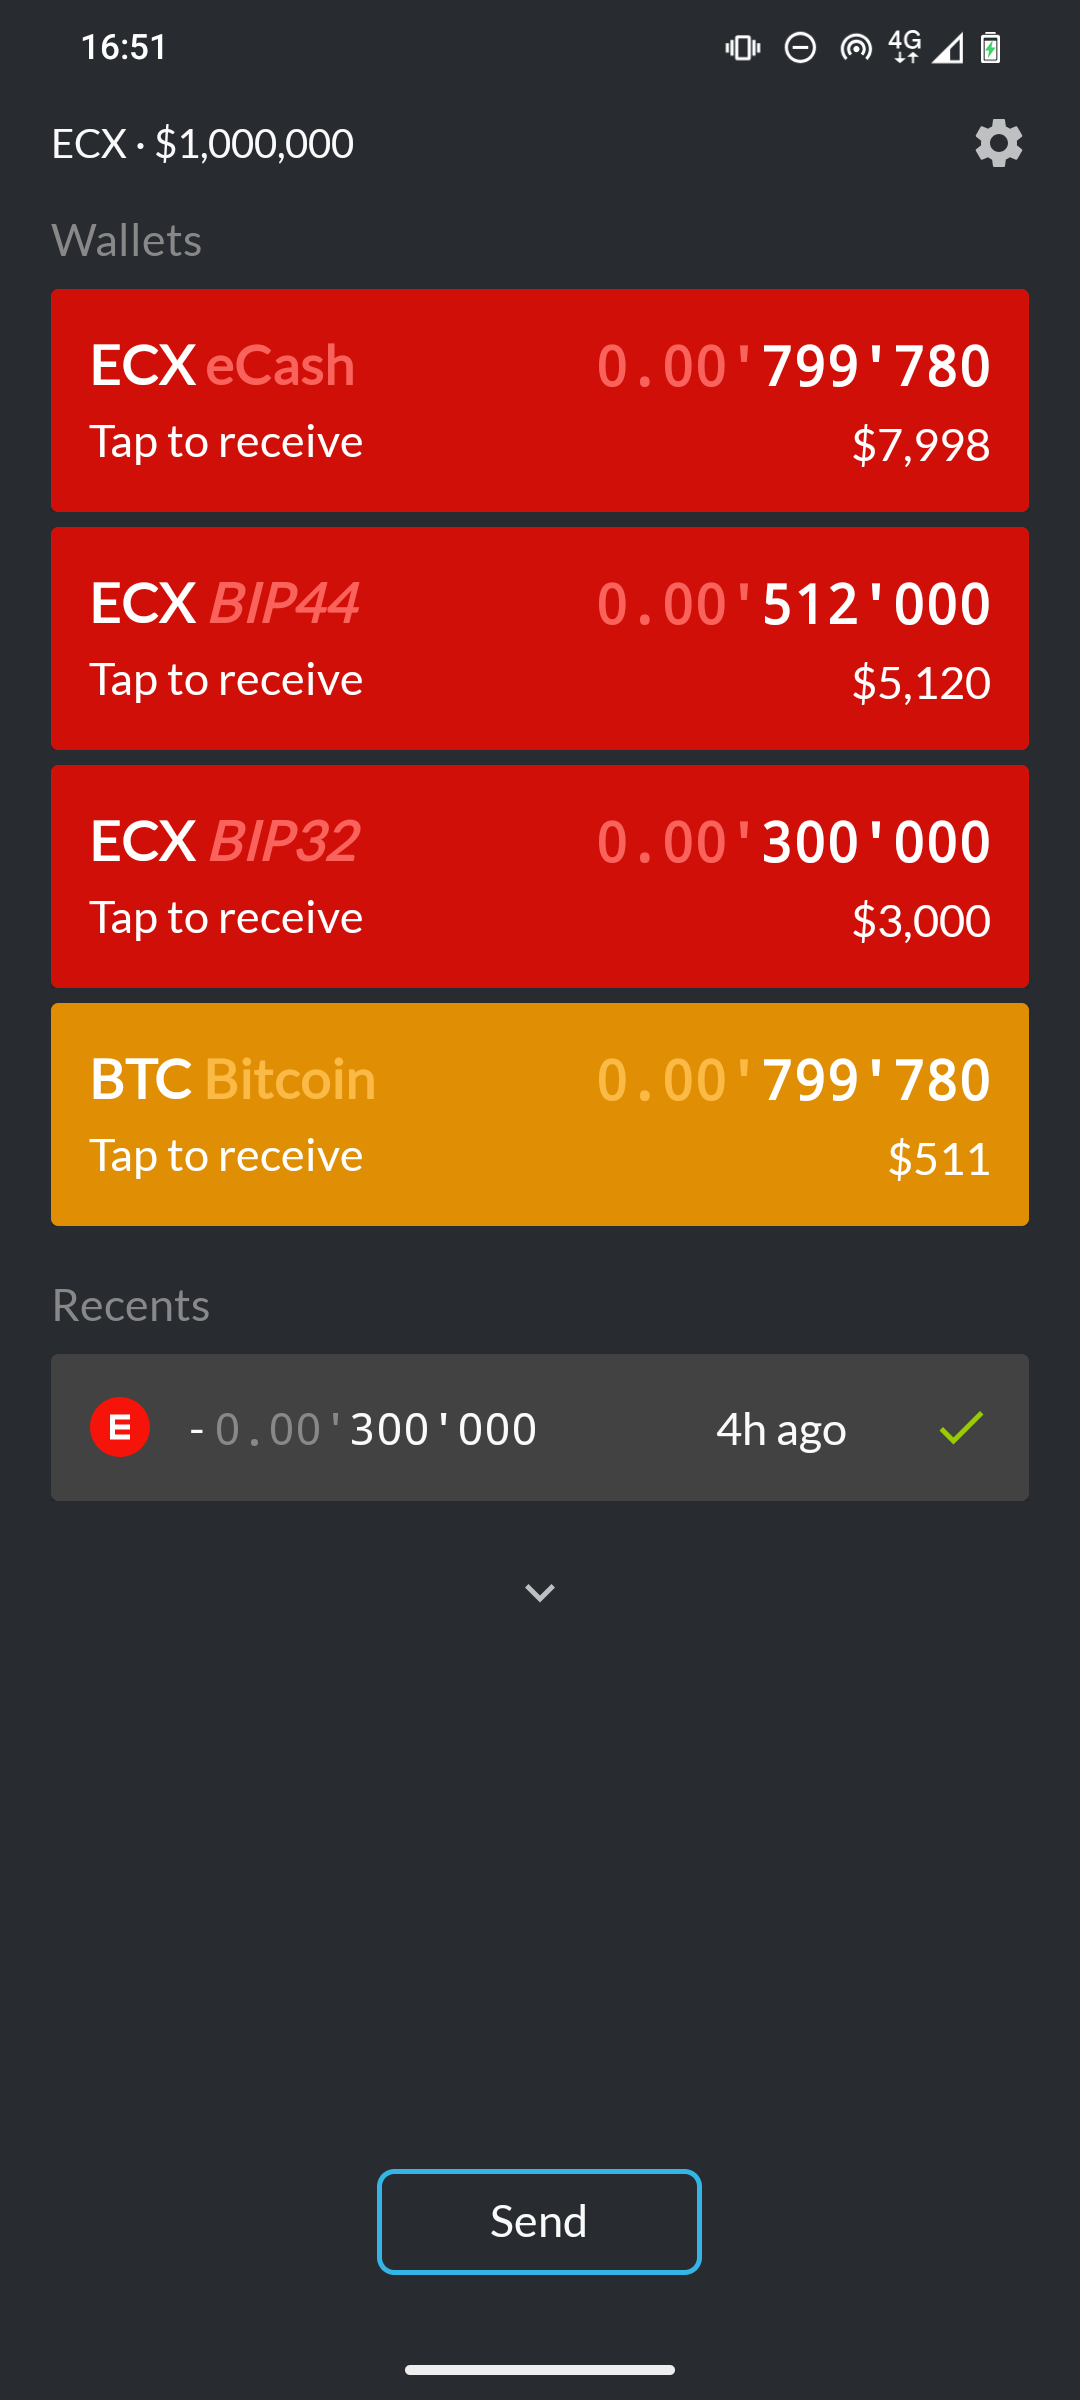
Once confirmed, eWallet derives three ECX wallet types: BIP84 (labeled as eCash), BIP44, and BIP32, along with BTC BIP84 wallet (labeled as Bitcoin).
It shows several wallet standards for ECX at once because Bitcoin wallets have used all these standards over the years, so user funds may be scattered across them.
In this example, user does have BTC balances scattered across different wallet standards, so they are reflected as 1:1 balances on respected ECX cards.
In this example, ECX BIP84 and BTC BIP84 balances match because they represent the same coins on two separate networks.
At the fork, every pre-fork coin exists on both Bitcoin and eCash. At first, the two copies can share the same spending history. This means that a transaction intended only for Bitcoin can be copied—or replayed—on eCash, moving your ECX as well.
Replay protection is a way to permanently sever the two copies. This is realized by making an ECX transaction that Bitcoin will reject, and then broadcasting it to send all your ECX back to yourself. Once that transaction confirms, the ECX copy has moved while the BTC copy has not, so future BTC payments can no longer drag those ECX funds along with them.
To do it, start by tapping the first ECX eCash wallet card shown in the previous section. This opens your ECX BIP84 receiving addresses. From there on, proceed with this tutorial.
Choose any of the four available ECX addresses by tapping it, or by sharing it back to eWallet.
This address belongs to your eWallet. It is the destination that will receive your ECX while replay protection is activated, so the funds will always remain under your control.
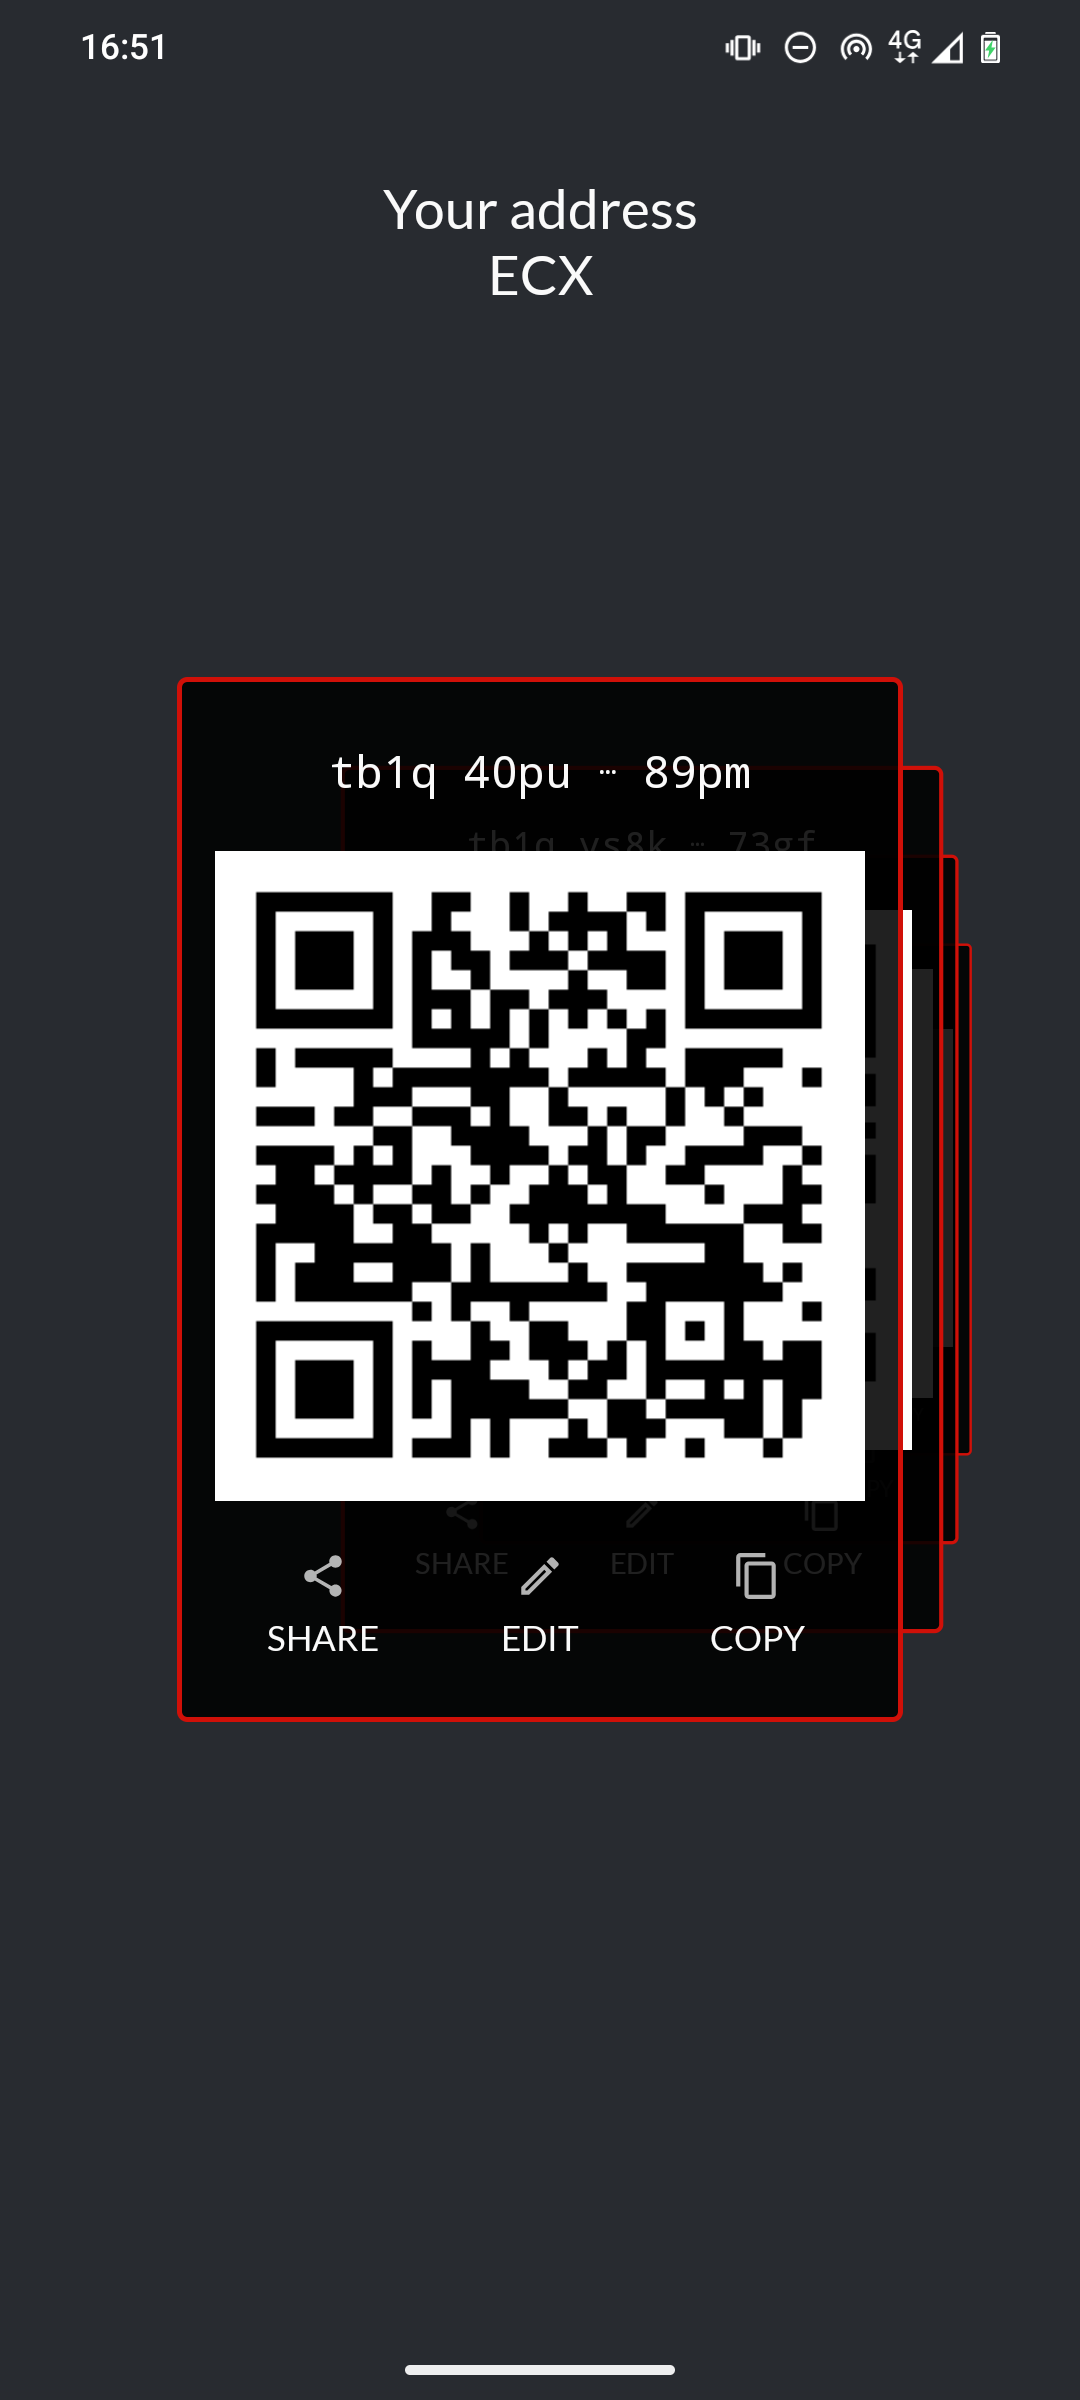
Choose any of the four available ECX addresses by tapping it, or by sharing it back to eWallet.
This address belongs to your eWallet. It is the destination that will receive your ECX while replay protection is activated, so the funds will always remain under your control.
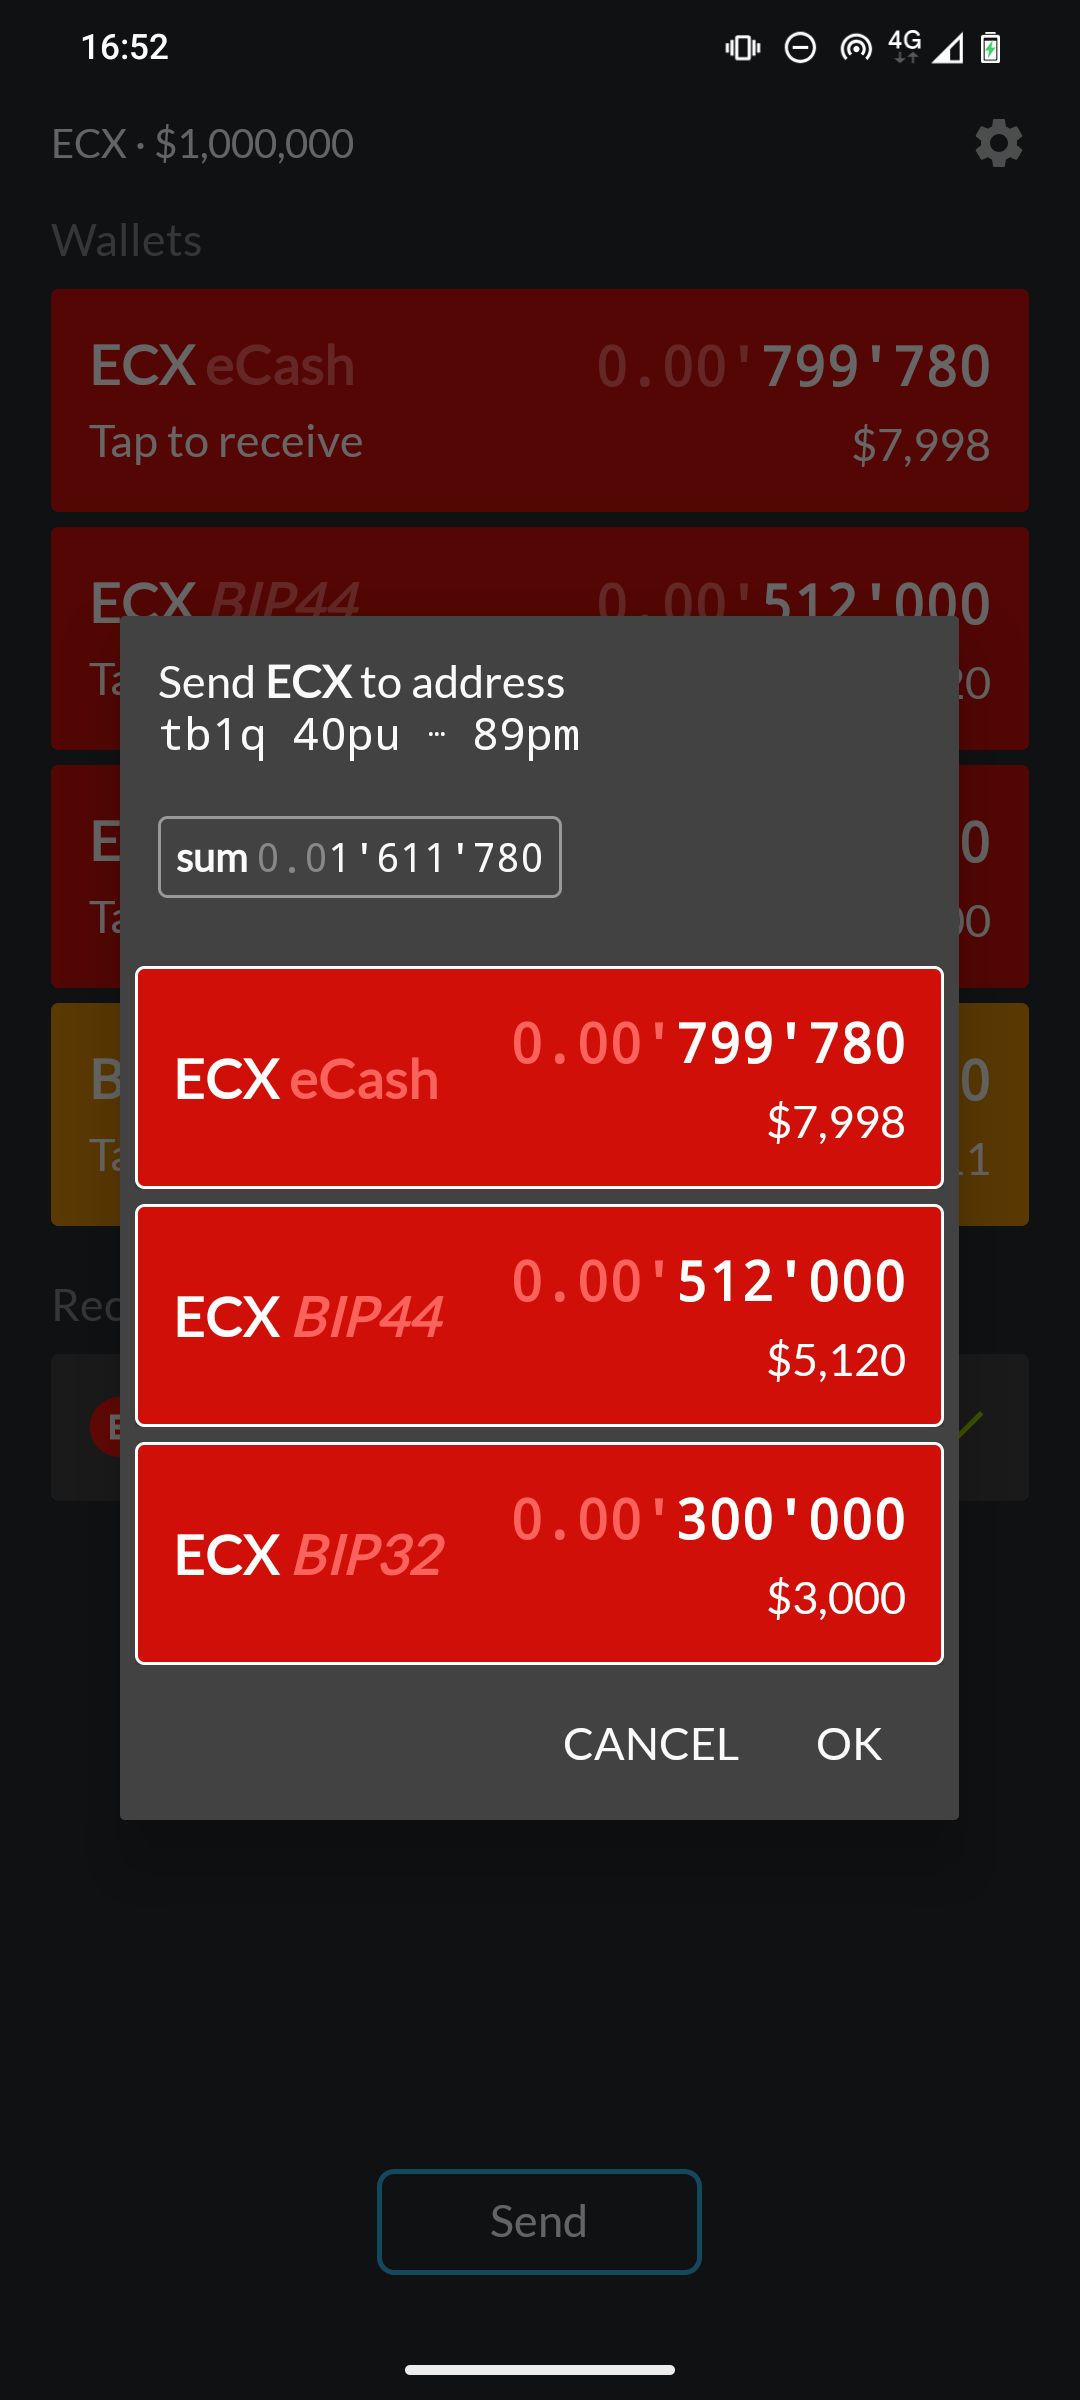
Select every ECX wallet that contains funds. eWallet will combine their balances into a single ECX transaction.
In this example, all three ECX wallet types contain funds, so all three are selected.
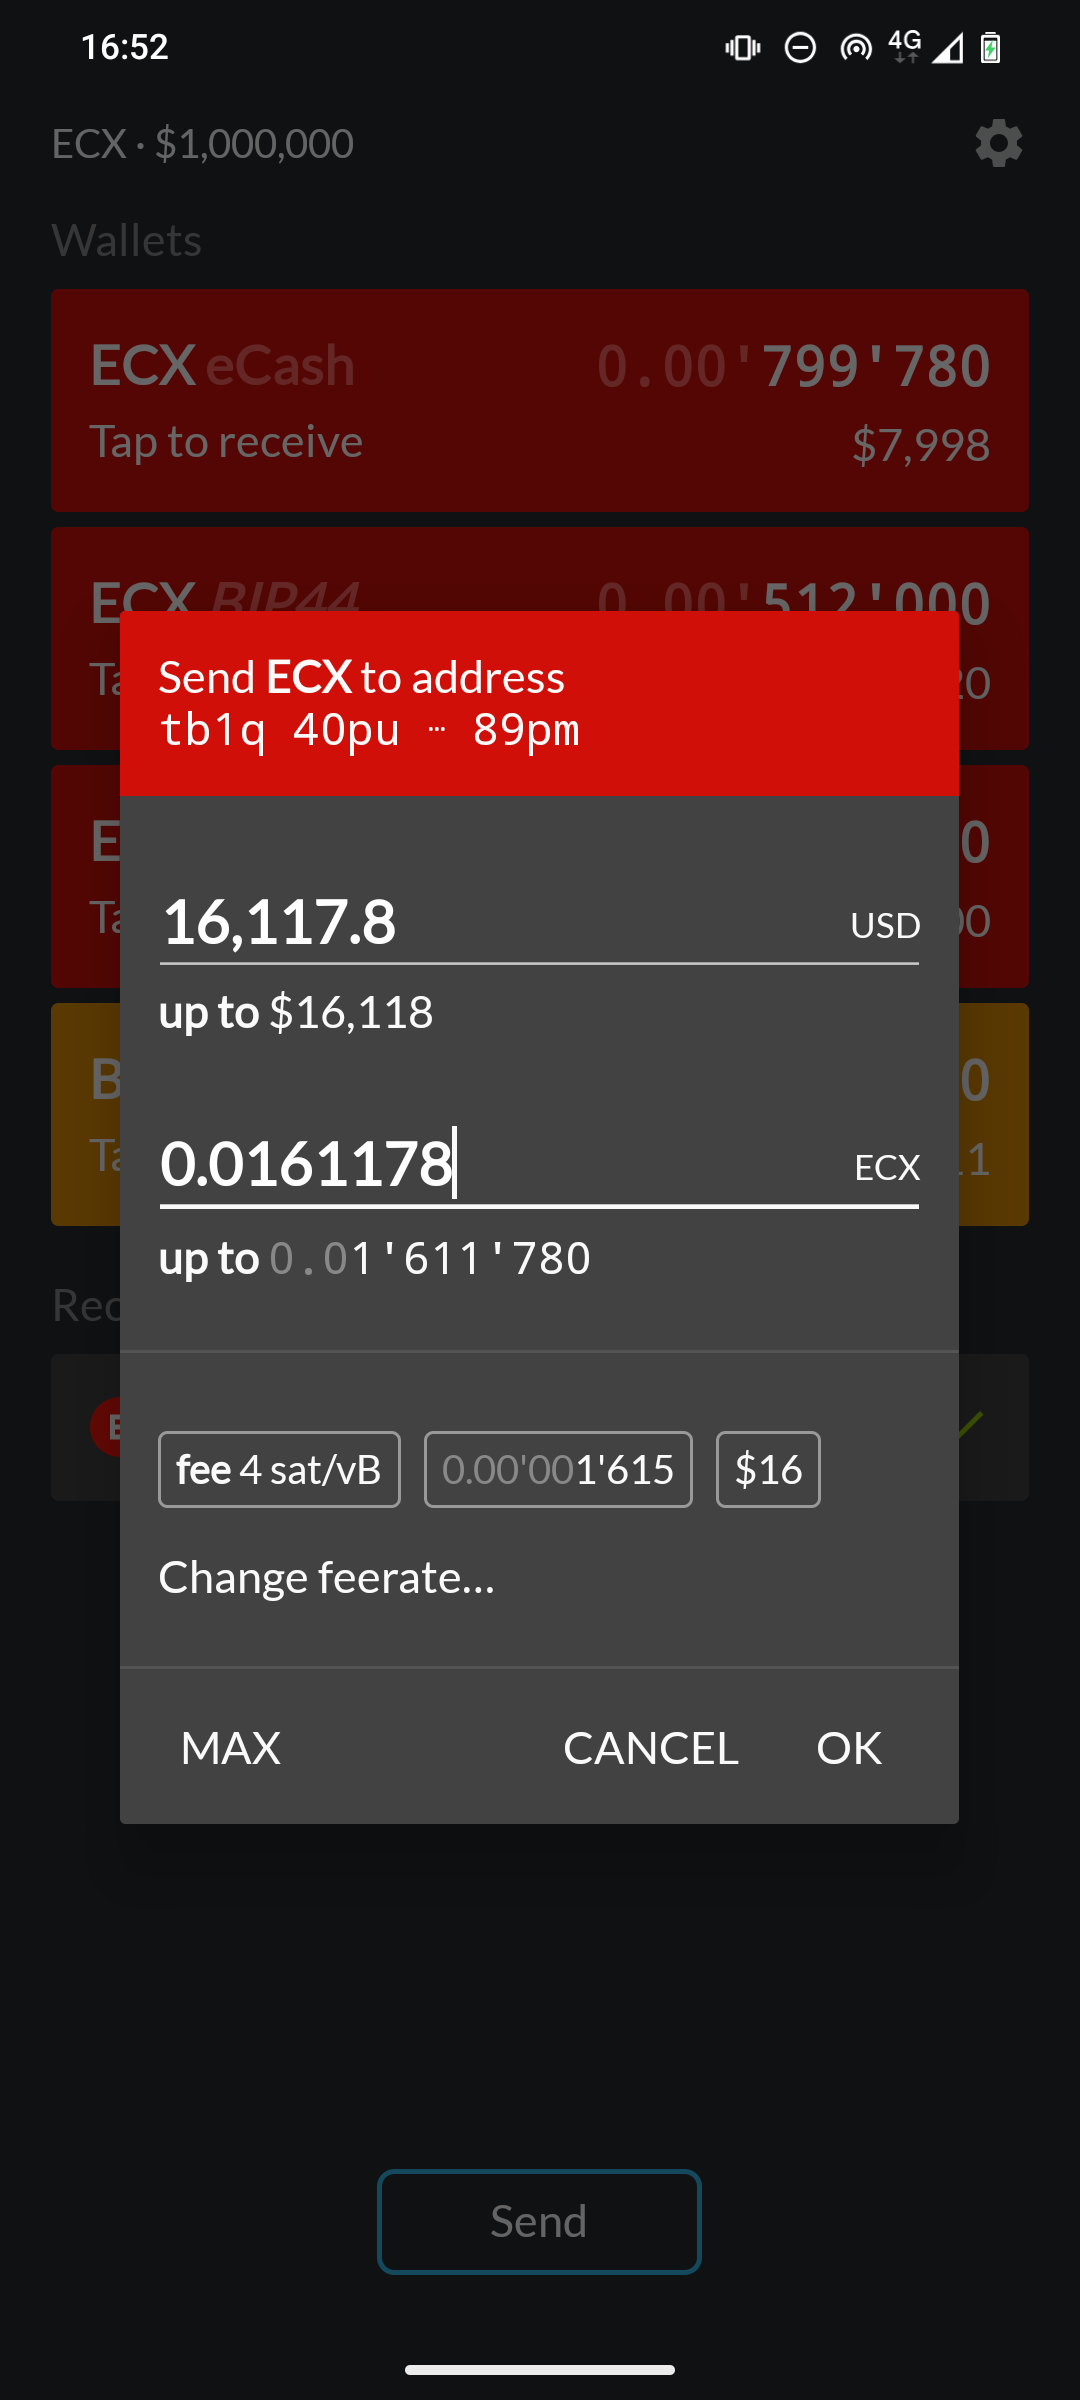
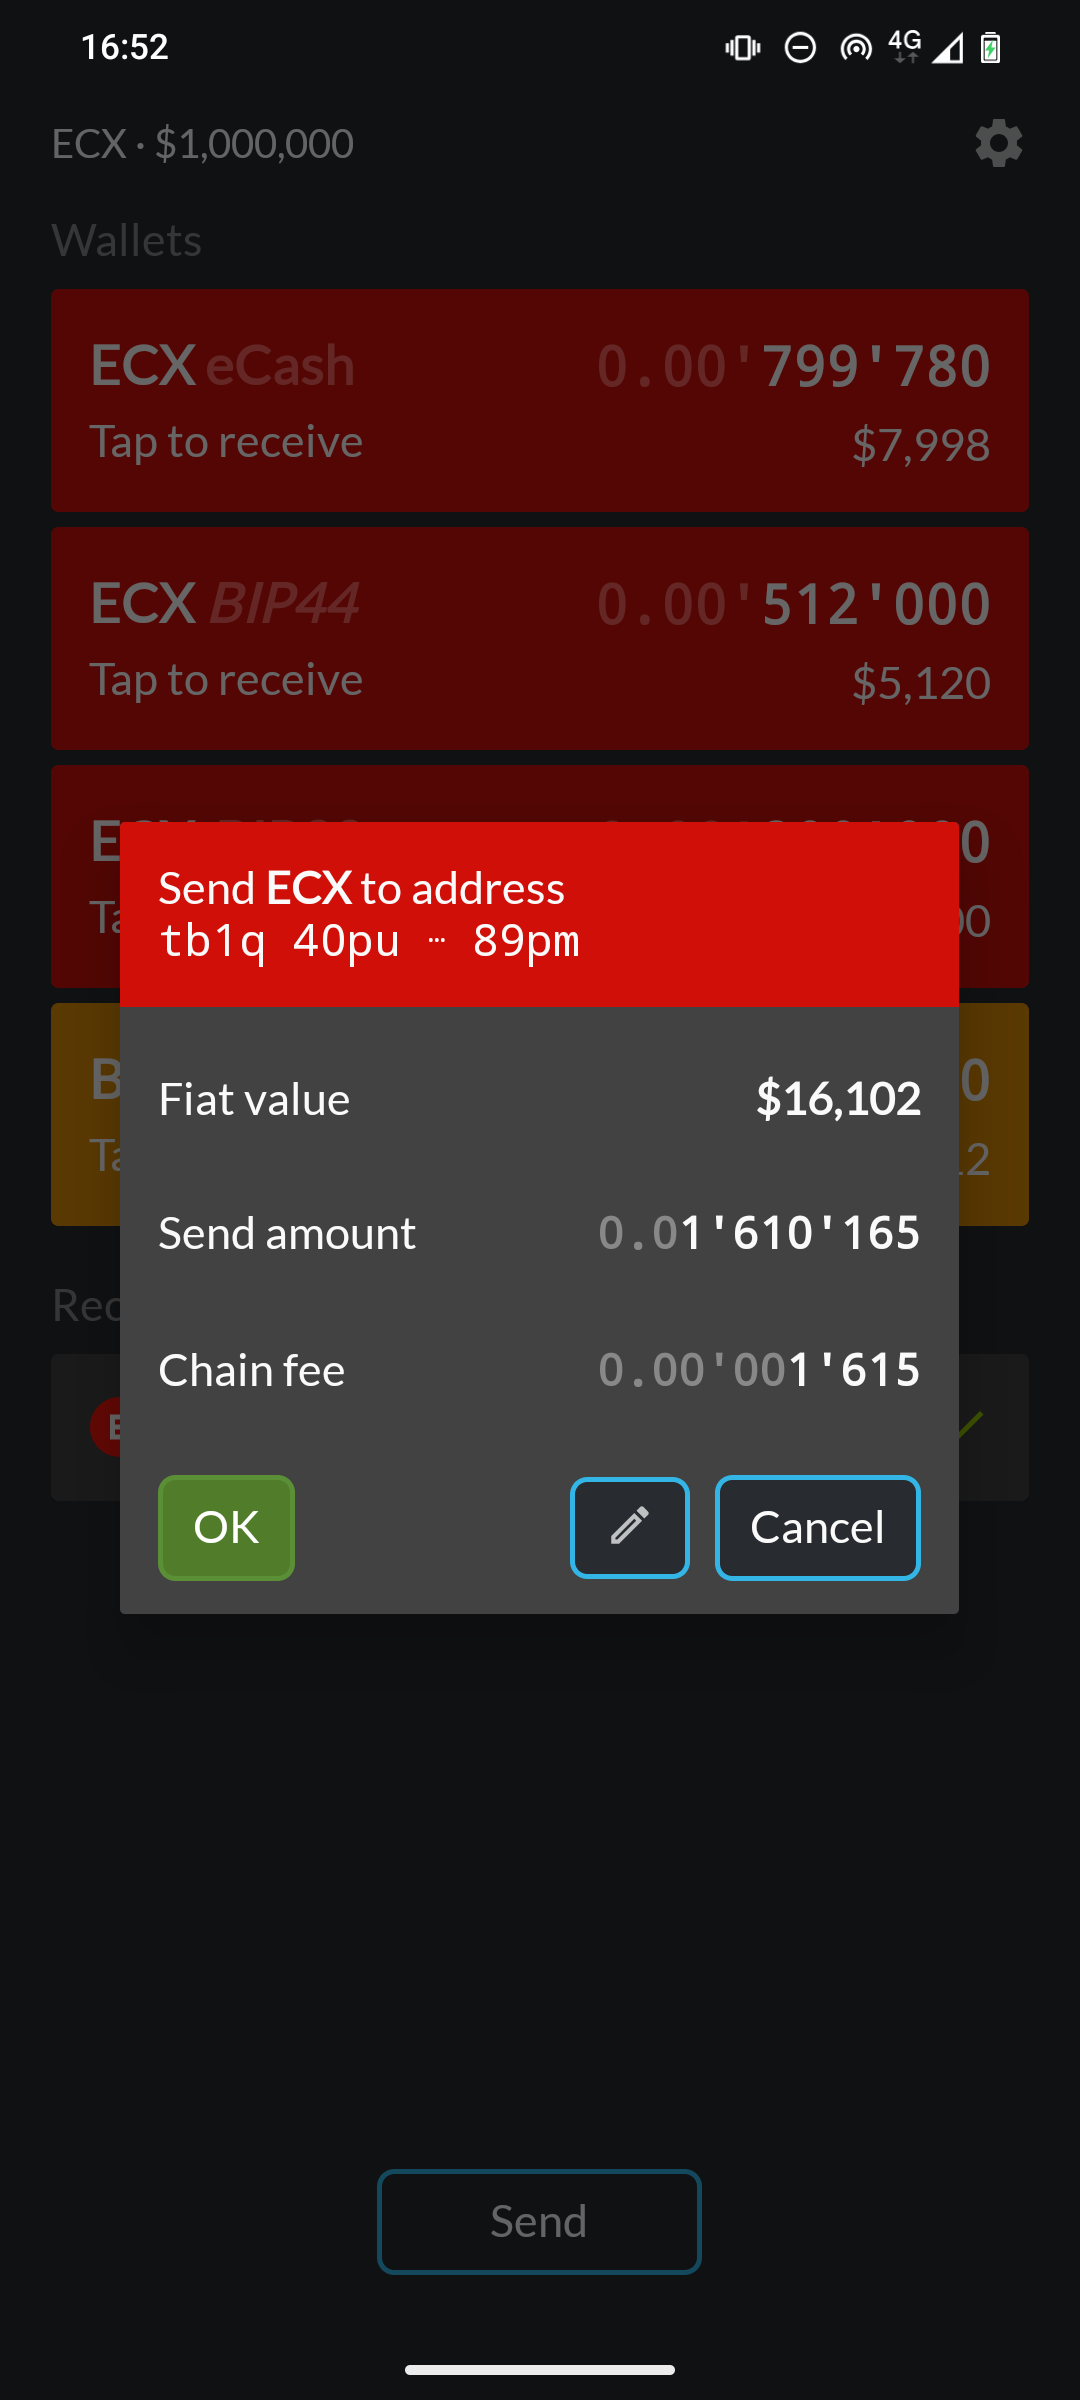
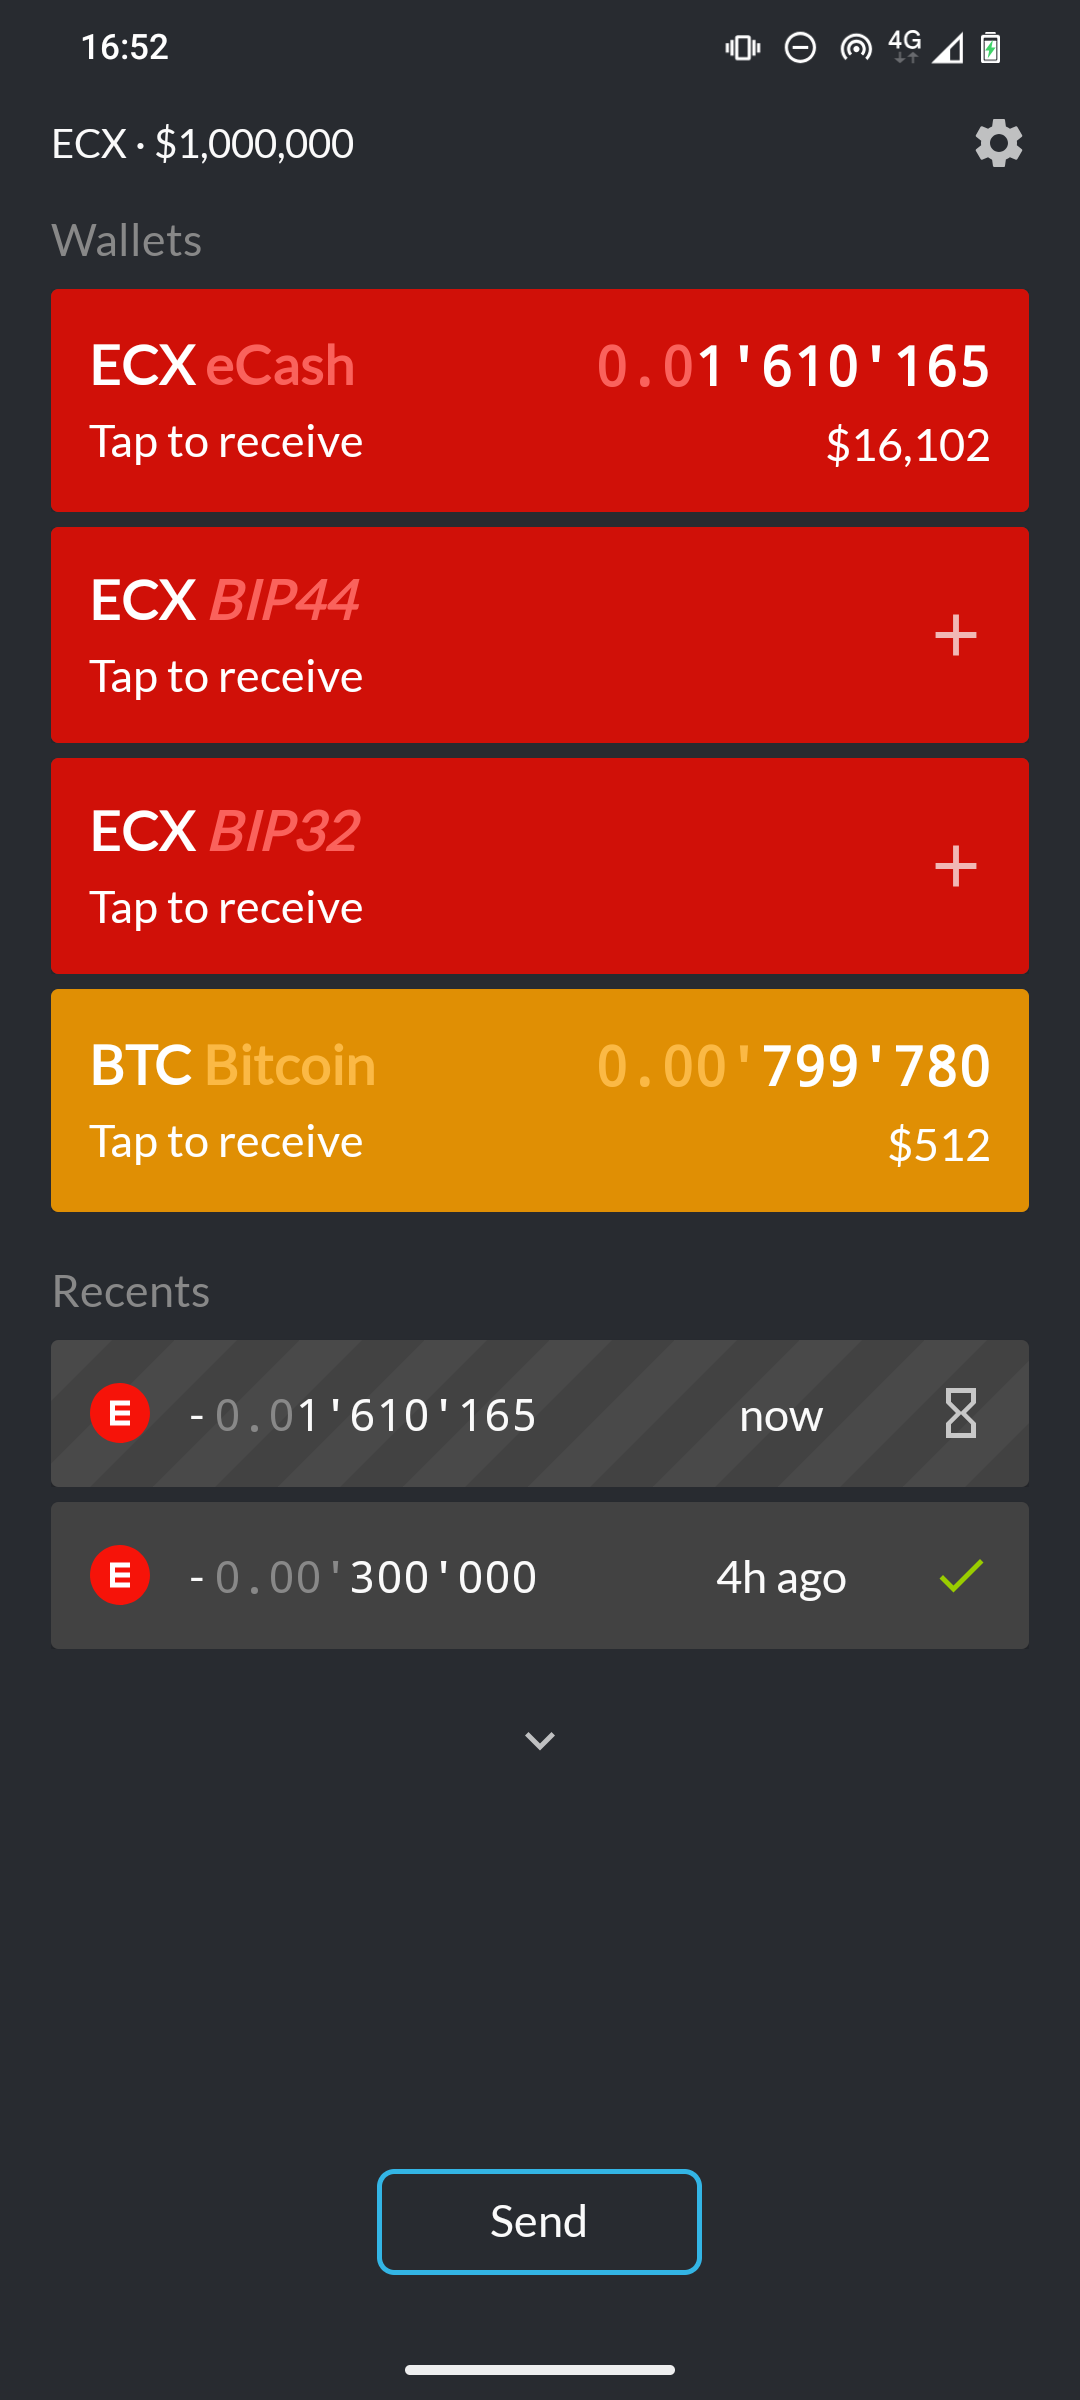
Your funds are now consolidated in the default ECX BIP84 wallet. The pending transaction appears in the recent activity list.
Once it confirms on eCash, replay protection is permanently active: the ECX has moved, while the corresponding BTC remains in place.
Do not move your BTC until this ECX transaction has confirmed.
Once your ECX balances have been swept into the default BIP84 wallet, the empty legacy BIP44 and BIP32 cards are no longer needed on the main screen.
Hiding them is optional. It simply keeps the wallet view tidy and does not move any funds.
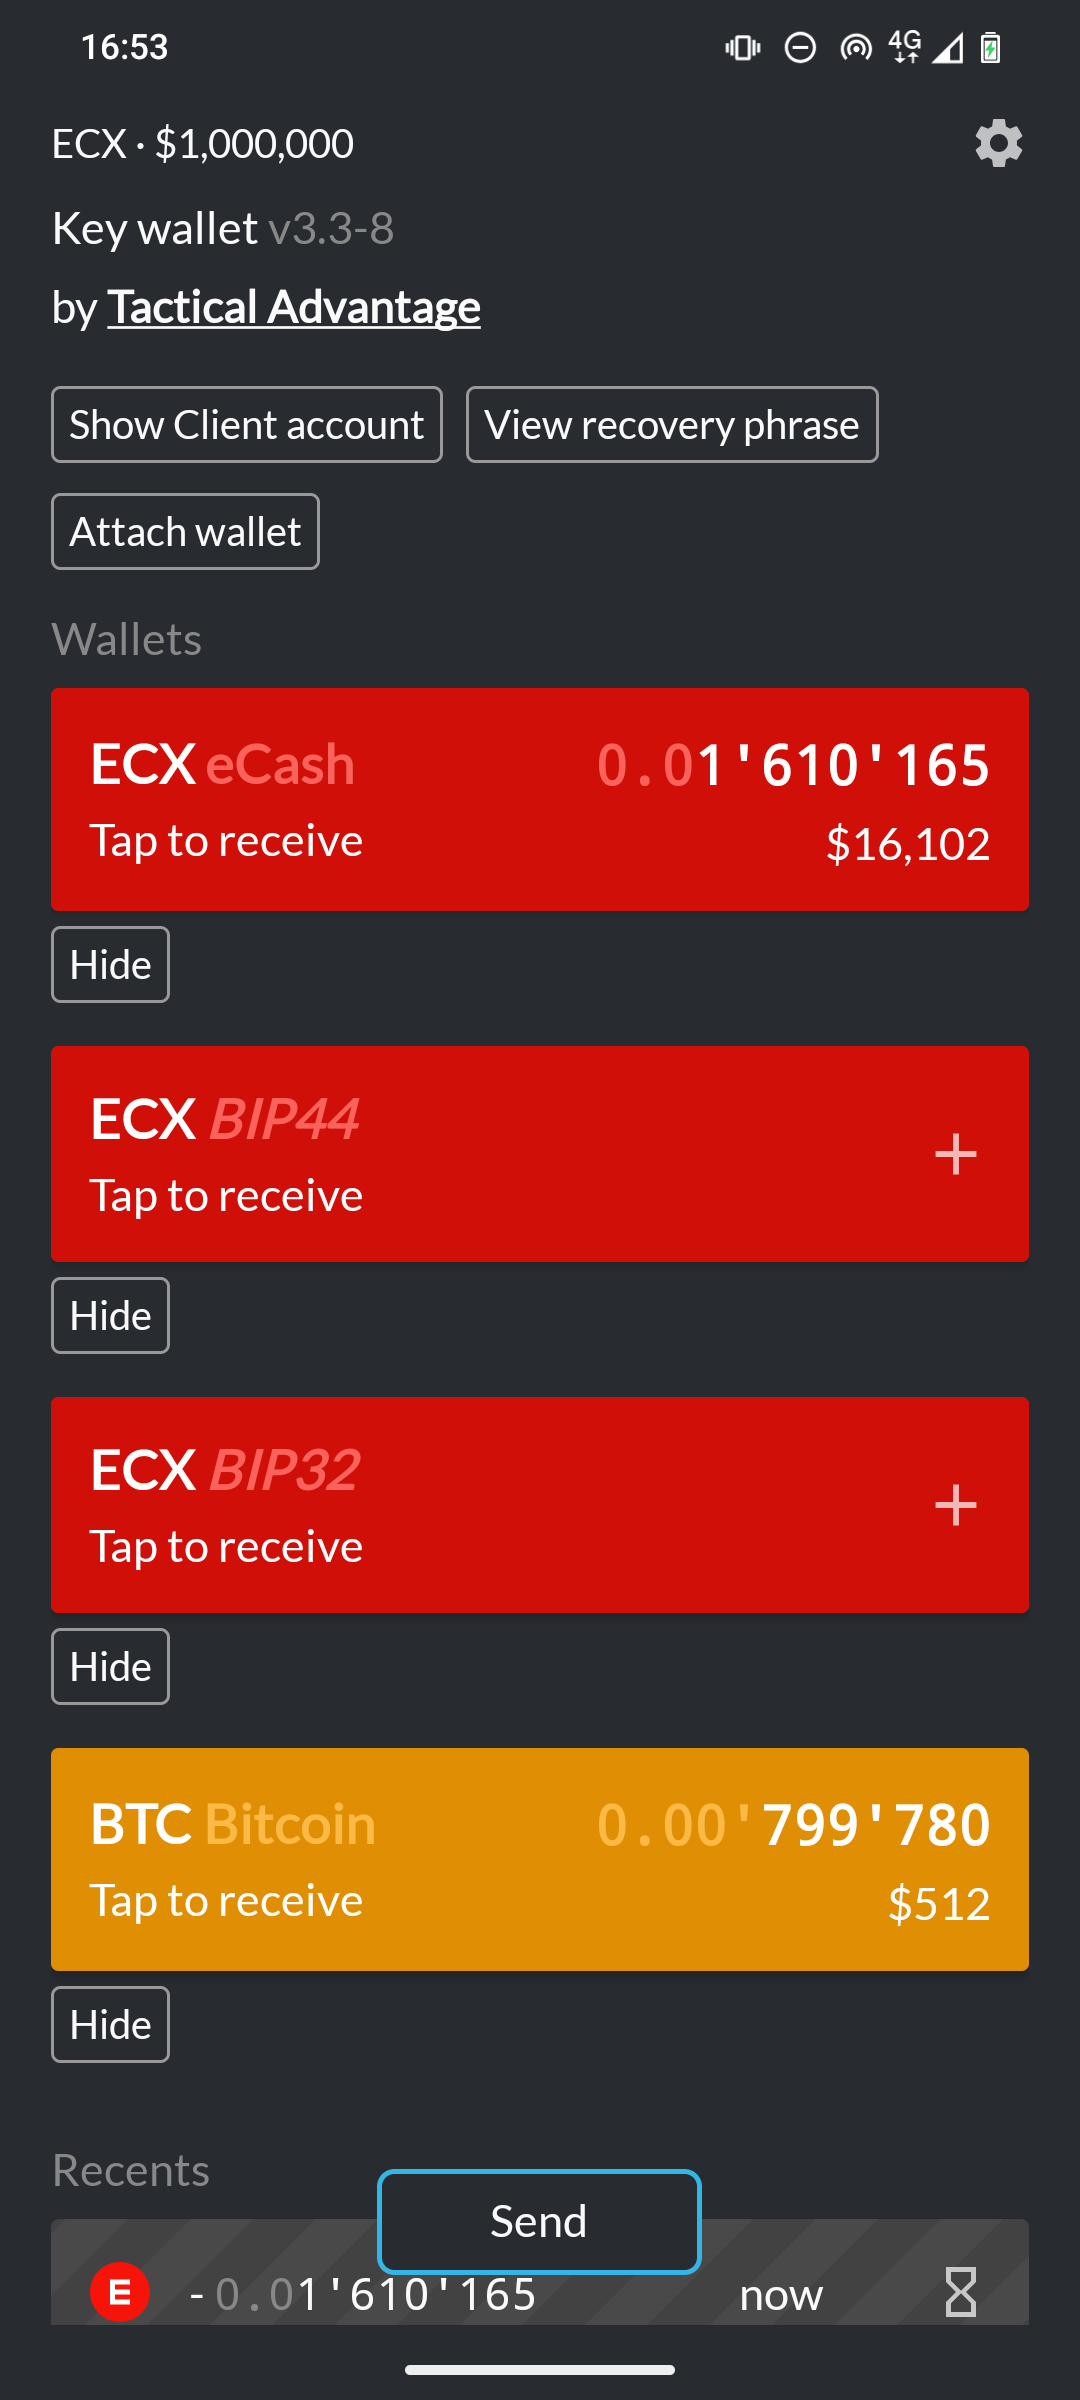
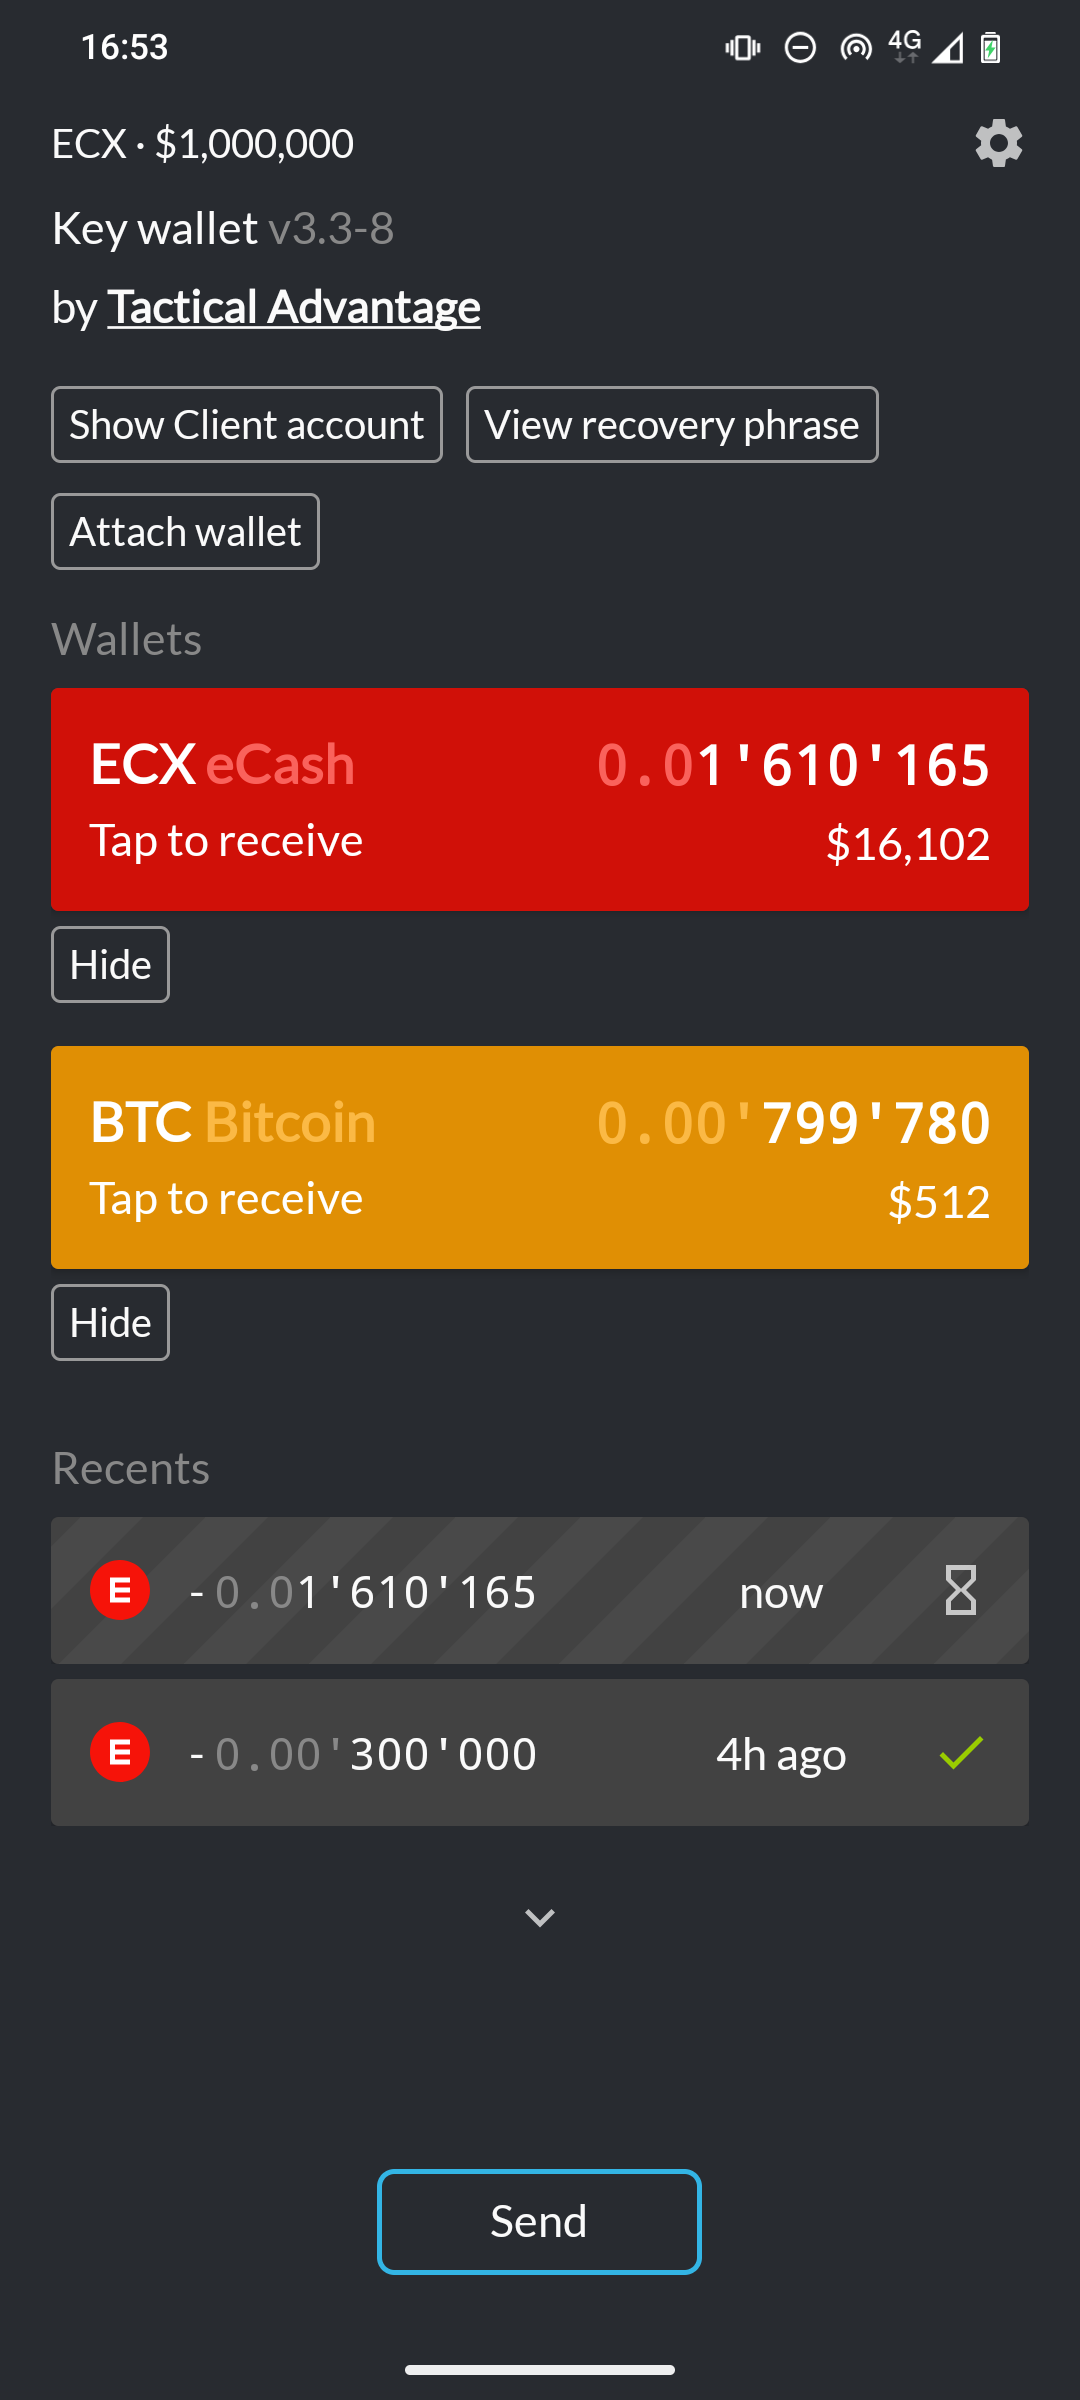
Tap Hide below each empty legacy ECX wallet card—BIP44 and BIP32 in this example.
Only hide cards with a zero balance. Keep the default ECX eCash card visible.
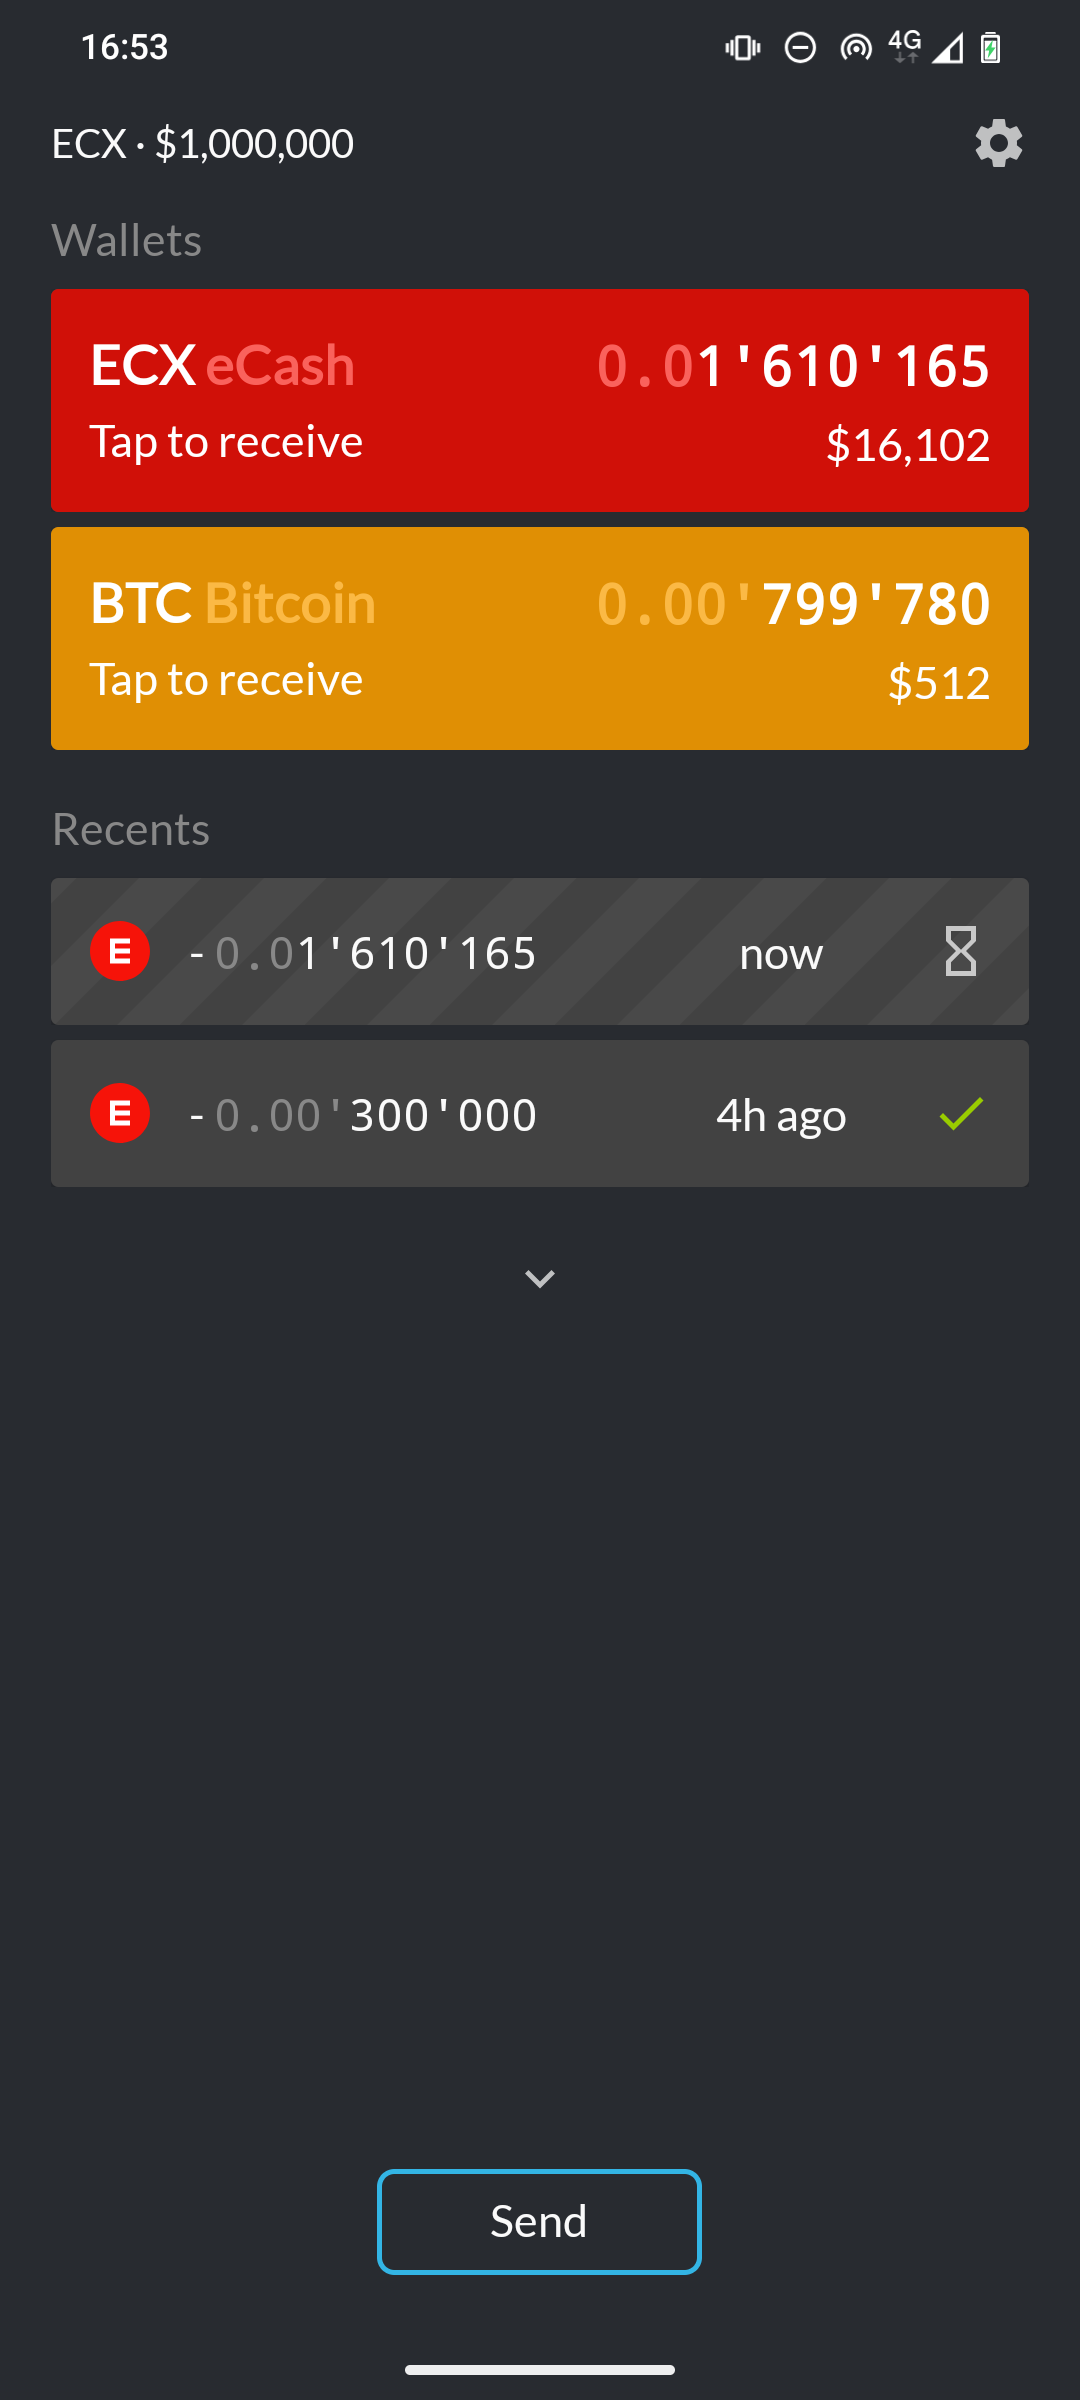
Your wallet is now cleaned up: the claimed ECX is consolidated in the default wallet, replay protection is active, and the unused legacy cards are hidden.
You are ready to continue using eWallet with both ECX and BTC.